GSoc/2023/StatusReports/UTKARSHKUMAR
Improve Items Properties Management
Contacts
Email:-[email protected]
Contact No:- +91 6204808269
Summary
Digikam is an advanced open-source digital photo management application, compatible with Linux, Windows, and MacOS platforms, that offers a wide range of features for importing, managing, editing, and sharing photos and RAW files.s.
At present, users are facing a host of difficulties when they try to transfer properties such as color, tags, and labels to numerous pictures. This is resulting in an extremely laborious and monotonous task of copying them repeatedly. This project will introduce a more advanced and efficient approach.
Mentors : Gilles Caulier, Maik Qualmann, Thanh Trung Dinh
Blog Posts
https://utkarsh12.netlify.app/
Timeline
Week 1-2
During this week my focus on understanding the working of images tags and how they define in images i find out key words Tags are essentially labels or keywords that people attach to pictures or images to assist in categorization and organization. Working of Images Exif understanding.
- UseFull Repo:-https://github.com/Martchus/tageditor
- Merge Rq:-https://invent.kde.org/graphics/digikam/-/merge_requests/219/diffs

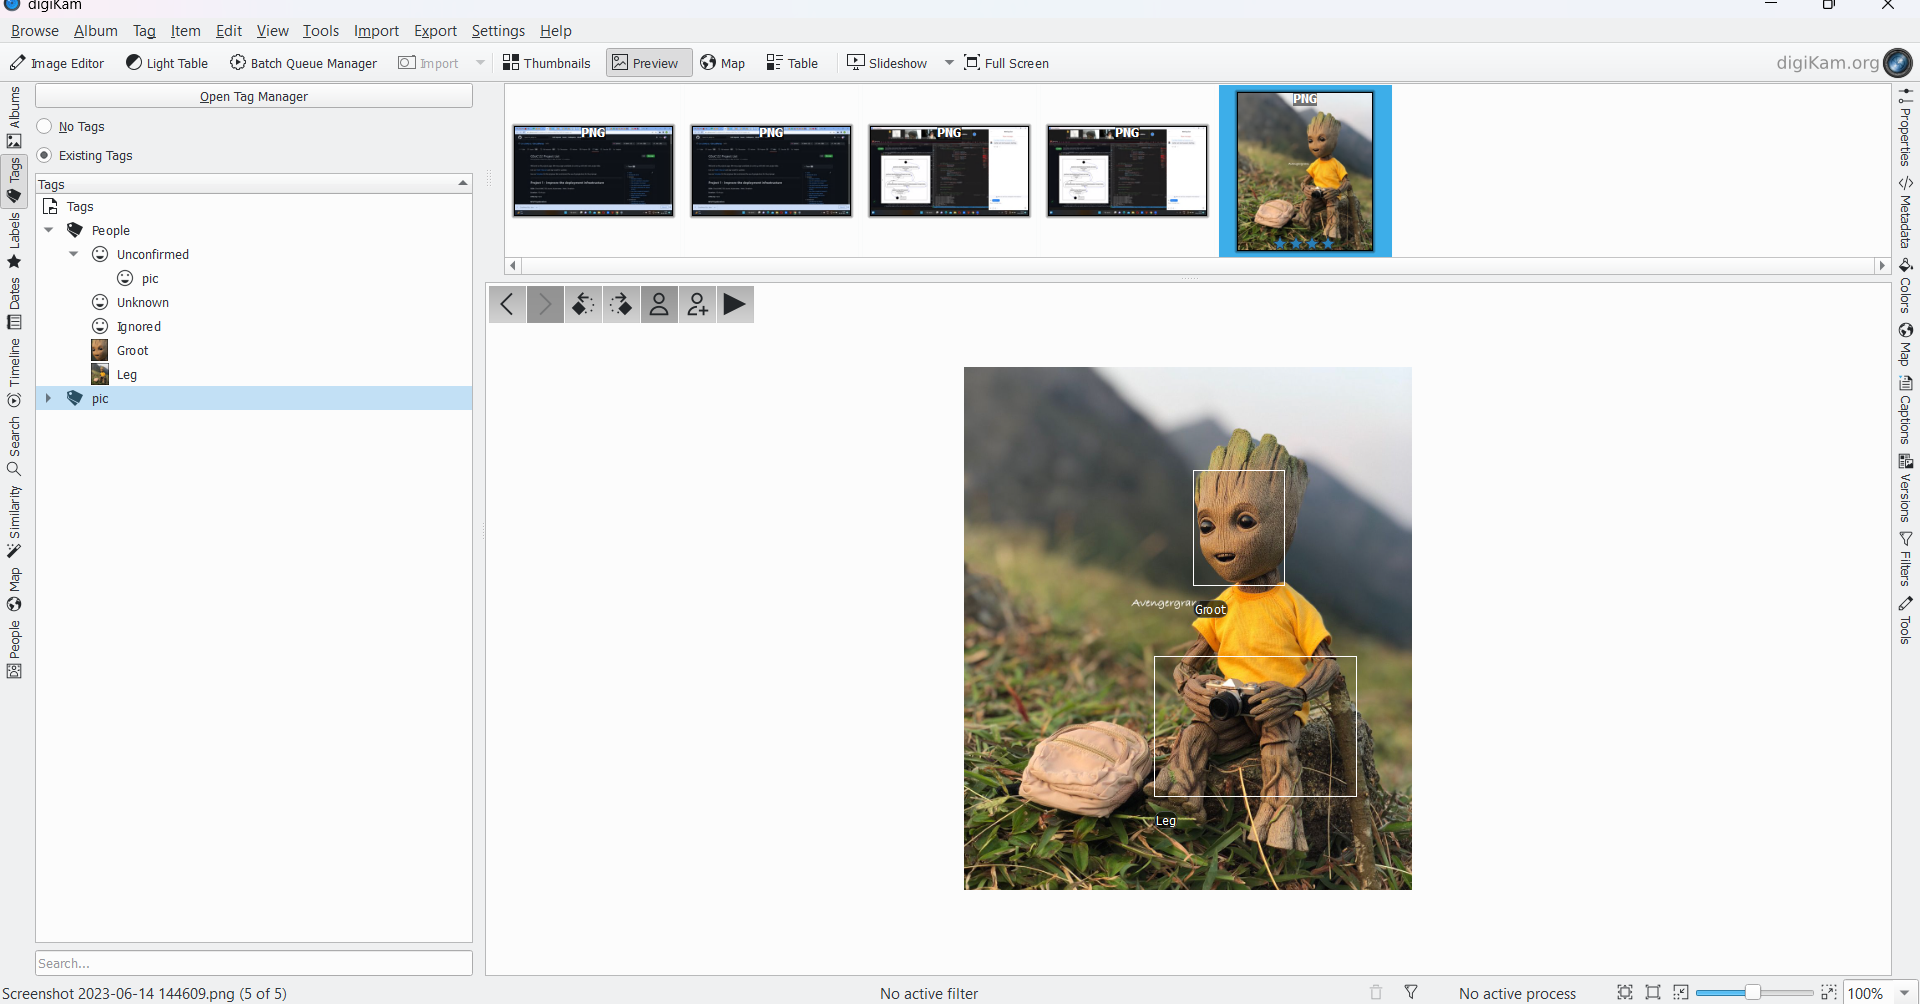
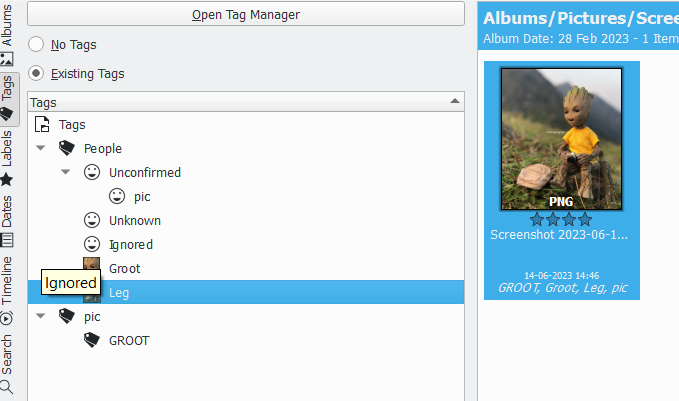
My primary objective is to explore the process of managing tag lists for images in DigiKam. Specifically, I am focusing on understanding how to modify the code view to enable the selection of all tag lists for images with a single click. i checked out the codebase of digikam.
WHY IS IT IMPORTANT:-

Right now the user can check it out once taglist
- They serve as descriptive metadata, facilitating easier searching and retrieval of specific images within a collection or database. Users can manually assign tags to images, or image recognition algorithms can automatically generate tags.
| S.no | Properties |
|---|---|
| 1 | ListItem |
| 2 | itemtags |
| 3 | tagId |
| 4 | index |
| 5 | Tags Manager List |
Users can create a taglist or a collection of tags associated with the images by assigning Multiples tages in once Time appropriate tags to pictures. This taglists helps user in selecting multiples tages in Once Time.
- For instance, if we have a pictures Tag from a Taglist These tags can be employed to filter and add Multiples Tags in One click.

- This is modification of DigiKam Taglist code.
"void TagList::saveSettings() {
   KSharedConfigPtr config = KSharedConfig::openConfig();
   KConfigGroup group      = config->group(QLatin1String("Tags Manager List"));
   QStringList itemList;
   for (ListItem* const listItem : d->tagListModel->allItems())
   {
       QList<int> ids = listItem->getTagIds();
       if (!ids.isEmpty())
       {
           itemList << QString::number(ids.first());
       }
   }
group.writeEntry(QLatin1String("Items"), itemList);
}
void TagList::restoreSettings() {
   KSharedConfigPtr config = KSharedConfig::openConfig();
   KConfigGroup group      = config->group(QLatin1String("Tags Manager List"));
   QStringList itemList    = group.readEntry(QLatin1String("Items"), QStringList());
   /**
    * If config is empty add generic All Tags
    */
   d->tagListModel->addItem(QList<QVariant>() << QBrush(Qt::cyan, Qt::Dense2Pattern));
   if (itemList.isEmpty())
   {
       return;
   }
   for (const QString& item : itemList)
   {
       QList<QVariant> itemData;
       itemData << QBrush(Qt::cyan, Qt::Dense2Pattern);
TAlbum* const talbum = AlbumManager::instance()->findTAlbum(item.toInt());
       if (talbum)
       {
           itemData << talbum->id();
       }
ListItem* const listItem = d->tagListModel->addItem(itemData);
       // Use this map to find all List Items that contain a specific tag, usually to remove deleted tags
       for (int tagId : listItem->getTagIds())
       {
           d->tagMap[tagId].append(listItem);
       }
   }
   /**
    * "All Tags" item should be selected
    */
   QModelIndex rootIndex = d->tagList->model()->index(0, 0);
   d->tagList->setCurrentIndex(rootIndex);
}
void TagList::slotAddPressed() {
QModelIndexList selected = d->treeView->selectionModel()->selectedIndexes();
   if (selected.isEmpty())
   {
       return;
   }
   QList<QVariant> itemData;
   itemData << QBrush(Qt::cyan, Qt::Dense2Pattern);
   for (const QModelIndex& index : selected)
   {
       TAlbum* const album = static_cast<TAlbum*>(d->treeView->albumForIndex(index));
       itemData << album->id();
   }
ListItem* const listItem = d->tagListModel->addItem(itemData);
   /**
    * Use this map to find all List Items that contain a specific tag, usually to remove deleted tags
    *
    */
   for (int tagId : listItem->getTagIds())
   {
       d->tagMap[tagId].append(listItem);
   }
}
void TagList::slotSelectionChanged() {
   QModelIndexList indexList = d->tagList->mySelectedIndexes();
   QSet<int> mySet;
   for (const QModelIndex& index : indexList)
   {
       ListItem* const item = static_cast<ListItem*>(index.internalPointer());
       if (item->getTagIds().isEmpty())
       {
           mySet.clear();
           break;
       }
       for (int tagId : item->getTagIds())
       {
           mySet.insert(tagId);
       }
   }
   TagsManagerFilterModel* const filterModel = d->treeView->getFilterModel();
   QList<int> lstFromSet(mySet.begin(), mySet.end());
   filterModel->setQuickListTags(lstFromSet);
}
void TagList::slotTagDeleted(Album* album) {
TAlbum* const talbum = dynamic_cast<TAlbum*>(album);
   if (!talbum)
   {
       return;
   }
int delId = talbum->id();
QList<ListItem*> items = d->tagMap[delId];
   for (ListItem* const item : items)
   {
       item->removeTagId(delId);
       if (item->getTagIds().isEmpty())
       {
           d->tagListModel->deleteItem(item);
           d->tagMap[delId].removeOne(item);
           d->treeView->getFilterModel()->setQuickListTags(QList<int>());
       }
   }
}
void TagList::slotDeleteSelected() {
QModelIndexList sel = d->tagList->selectionModel()->selectedIndexes();
   if (sel.isEmpty())
   {
       return;
   }
   for (const QModelIndex& index : sel)
   {
       ListItem* const item = static_cast<ListItem*>(index.internalPointer());
       d->tagListModel->deleteItem(item);
   }
   d->tagList->selectionModel()->select(d->tagList->model()->index(0, 0),
                                        QItemSelectionModel::SelectCurrent);
}
void TagList::enableAddButton(bool value) {
d->addButton->setEnabled(value);
}
}"
The practice of tagging pictures or creating taglists is commonly Found Diffuculty All in Once a time.
In Digikam, a powerful open-source photo management software, the tag list feature empowers us to categorize and organize our photos using tags or keywords. By assigning tags to our images, we gain the ability to effortlessly search and filter them based on specific criteria. It's important to understand how to effectively utilize multiple tags in Digikam for efficient photo management. Here's how can optimize the use of multiple tag lists in Digikam:
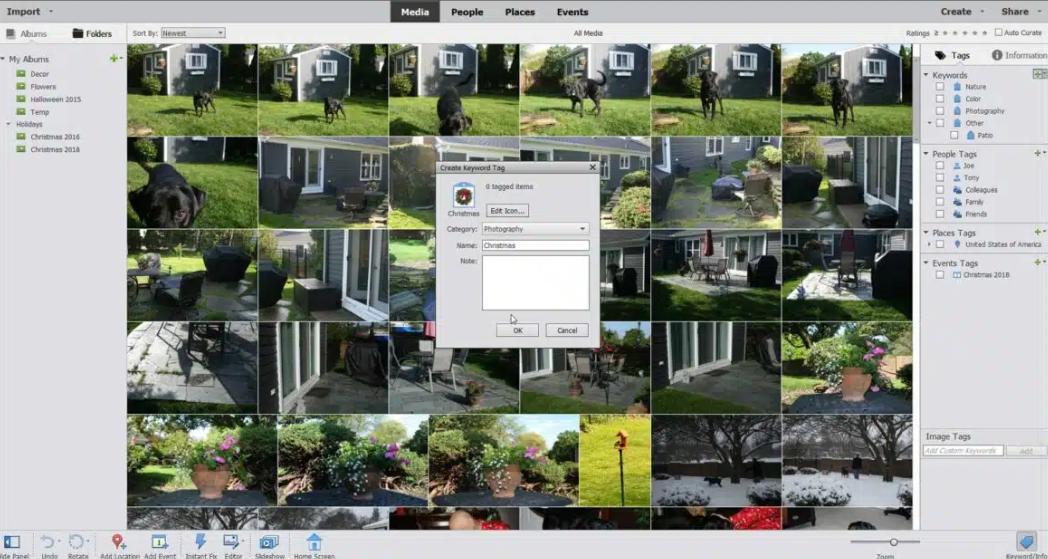
1. Creating Tag Lists: Start by creating different tag lists tailored to our organizational needs. For example, we can have tag lists for subjects like family, friends, or nature, as well as for locations such as vacations or cities, and even events like birthdays or weddings. To create a new tag list, simply go to the "Tags" panel in Digikam, select "Create New Tag List," provide a name, and add tags to the list.
2. Assigning Tags: When working with an image in Digikam, assign relevant tags to it. we have the flexibility to choose tags from any existing tag list or create new ones as needed. we can add tagslist by right-clicking on the image and selecting "Tags,".This action opens the tagging dialog, allowing we to select tags from different tag lists.
3. Browsing and Filtering: Once we have assigned tags to our photos, we can easily browse and filter them based on specific criteria. Within Digikam's main window, navigate to the "Tags" panel and expand the desired tag list. we will find all the tags listed within that particular list. By simply clicking on a specific tag, Digikam displays all the images associated with it. we can also perform advanced searches using multiple tags from different tag lists to narrow down our search results.

4. Tagging Hierarchy: Digikam offers the flexibility to create hierarchical tag structures, enhancing our organizational capabilities. For instance, we can establish a "Vacations" tag and create sub-tags for different travel destinations underneath it. To create a tag hierarchy, right-click on a tag, choose "Create New Tag" or "Create New Sub-Tag," and then arrange the tags within the tag list using the drag-and-drop functionality.
5. Batch Tagging: To streamline the tagging process for a large number of photos that share similar tags, Digikam provides a batch tagging feature. Simply select multiple images, right-click, choose "Tags," and assign the desired tags from any tag list. This feature saves time and ensures consistent tagging across multiple photos.
Remember, using descriptive and relevant tags is key to making our photo collection easily searchable and well-organized. By leveraging the power of multiple tag lists in Digikam, we can efficiently manage and retrieve our images based on various criteria, creating a personalized and customized photo management experience.
