Get Involved/development/Developing in a virtual machine: Difference between revisions
| Line 3: | Line 3: | ||
Virtualbox is a good option for the VM host software, as it is reliable, free, and open source. | Virtualbox is a good option for the VM host software, as it is reliable, free, and open source. | ||
== Installing | == Installing VirtualBox == | ||
* Arch/Manjaro: <code>sudo pacman -S virtualbox</code> | * Arch/Manjaro: <code>sudo pacman -S virtualbox</code> | ||
* Fedora: <code>sudo dnf install VirtualBox</code> | * Fedora: <code>sudo dnf install VirtualBox</code> | ||
* KDE Neon/Kubuntu/Ubuntu/Debian: <code>sudo apt install virtualbox</code> | * KDE Neon/Kubuntu/Ubuntu/Debian: <code>sudo apt install virtualbox</code> | ||
* openSUSE Leap & Tumbleweed: <code>sudo zypper install virtualbox</code> | * openSUSE Leap & Tumbleweed: <code>sudo zypper install virtualbox</code> | ||
* Windows | * macOS: <code>brew install virtualbox</code> | ||
* Windows: https://virtualbox.org/wiki/Downloads | |||
Once | Once VirtualBox is installed, launch it. | ||
== Setting up the guest OS == | == Setting up the guest OS == | ||
Revision as of 16:20, 5 November 2021
Using a virtual machine for development can work if you are not able to set up a development environment on your main machine for any reason.
Virtualbox is a good option for the VM host software, as it is reliable, free, and open source.
Installing VirtualBox
- Arch/Manjaro:
sudo pacman -S virtualbox - Fedora:
sudo dnf install VirtualBox - KDE Neon/Kubuntu/Ubuntu/Debian:
sudo apt install virtualbox - openSUSE Leap & Tumbleweed:
sudo zypper install virtualbox - macOS:
brew install virtualbox - Windows: https://virtualbox.org/wiki/Downloads
Once VirtualBox is installed, launch it.
Setting up the guest OS
Now it's time to install an operating system inside Virtualbox. For the purposes of this tutorial, we will use KDE Neon Developer Edition, as it is specifically made for this purpose. Download it from here: https://files.kde.org/neon/images/developer/current/neon-developer-current.iso
The OS inside Virtualbox is called the "guest OS" (as distinct from the "host OS" which is the OS running on your computer). It's time to set it up now.
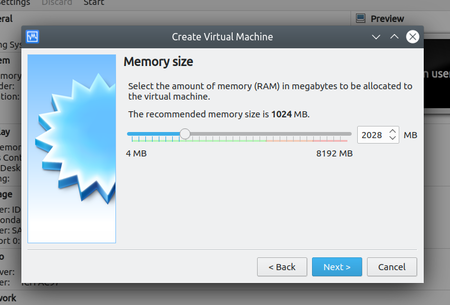
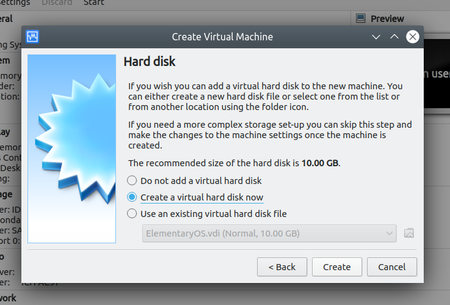
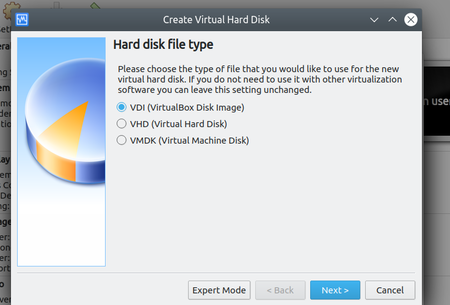
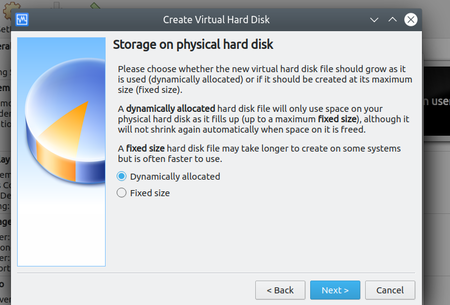
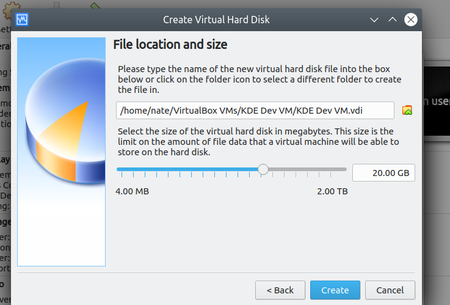
Click the "New" button in the toolbar and go through the wizard, entering the following recommended settings:
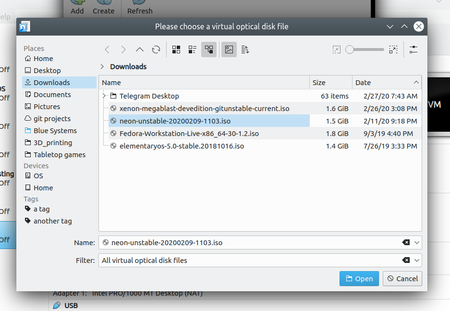
Now click the "Start" button in the toolbar. This will prompt you to select an ISO file for the guest OS. Select the Neon Development ISO that you downloaded earlier:
The OS will boot up! How exciting. Launch the installer and install the OS. When asked to create a user account, just pick any name (e.g. "dev").
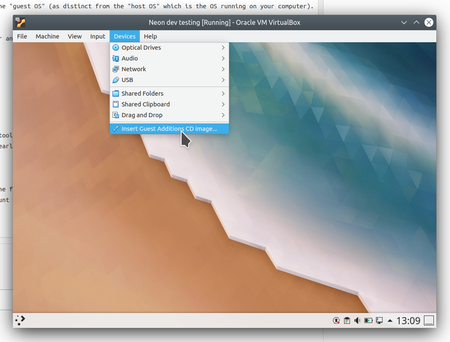
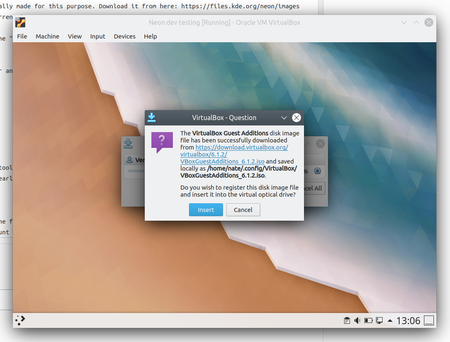
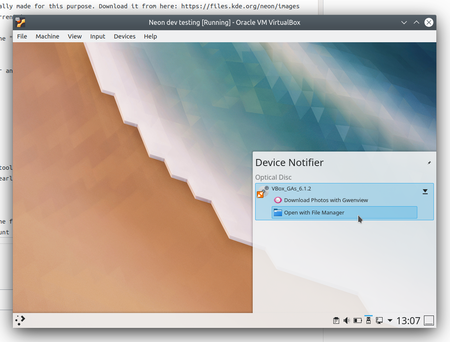
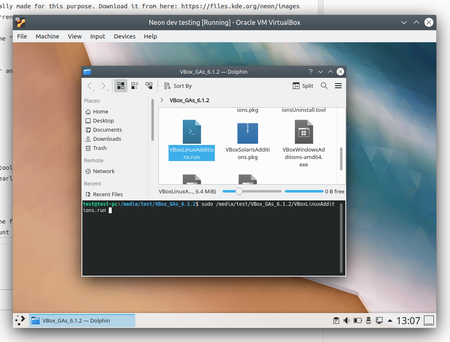
After the OS has been installed, reboot the guest OS and then install some extra drivers and such from the "Guest Additions CD Image". Download and mount it like so:
Now press F4 to open the Terminal view and install by running the following command:
sudo ./VBoxLinuxAdditions.run
Now restart the guest OS again. Once it starts up, you're ready to do your development in a VM!


