Neon/BionicUpgrades: Difference between revisions
No edit summary |
No edit summary |
||
| Line 1: | Line 1: | ||
Upgrade Your KDE neon install to Bionic rebase | Upgrade Your KDE neon install to Bionic rebase | ||
Revision as of 09:27, 26 September 2018
Upgrade Your KDE neon install to Bionic rebase
Due to the nature of software distribution on Linux, upgrade scenarios are hugely complicated. We have automated QA measures in place to ensure our software upgrades correctly. Any piece of non-KDE software can cause the upgrade to fail without us being able to do much about it though. So, if you have lots of non-KDE software installed, especially from third party PPAs, you should be ready to have the upgrade go wrong and potentially end up with a broken system. We suggest that you do a clean installation using the preview ISOs and restore your data from a back up, if that happens. Using third party software as AppImages, Flatpaks or Snaps largely eliminates this problem; something to keep in mind for the future.
1) Update your system using Plasma Discover
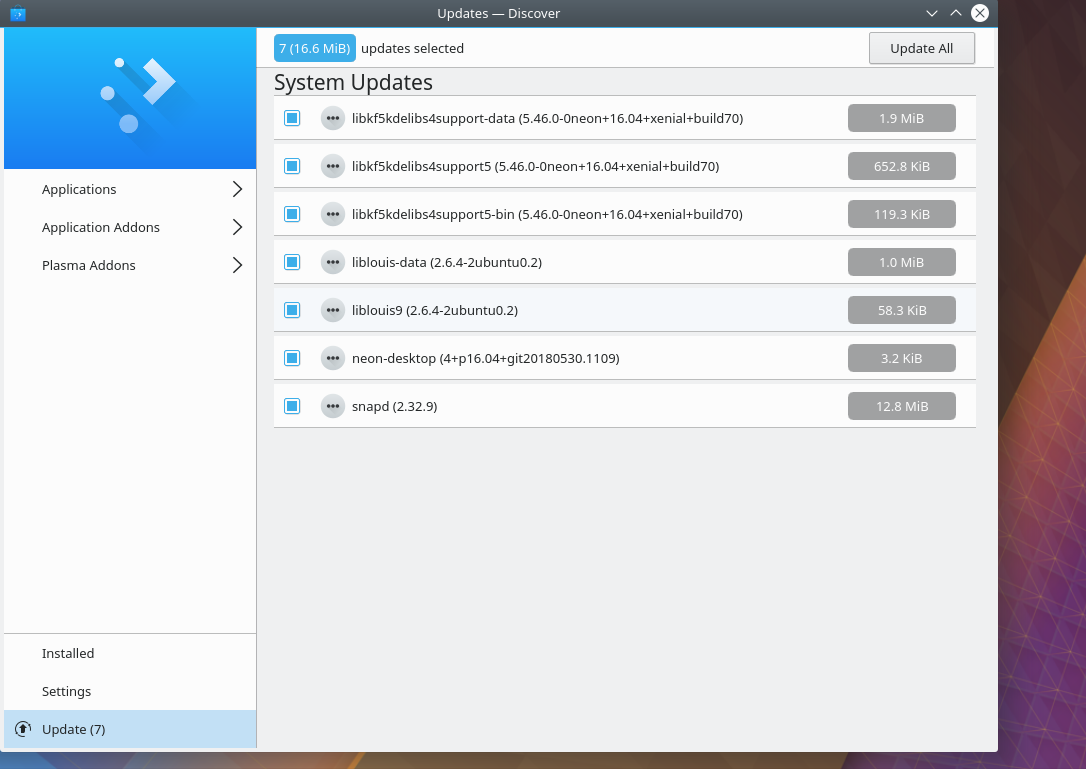
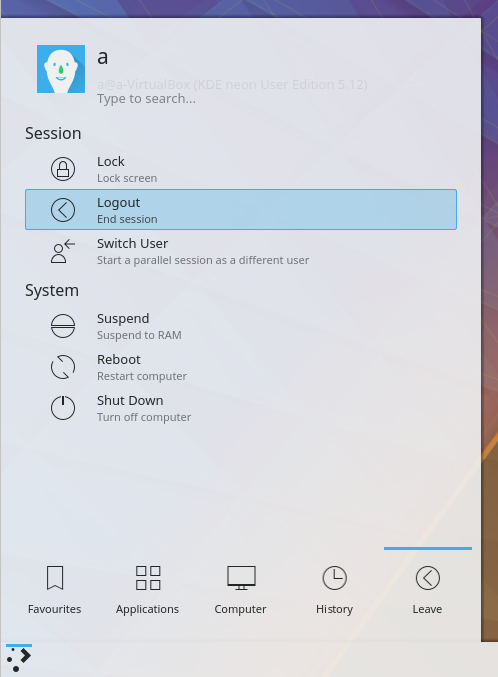
2) Log out and log back in again
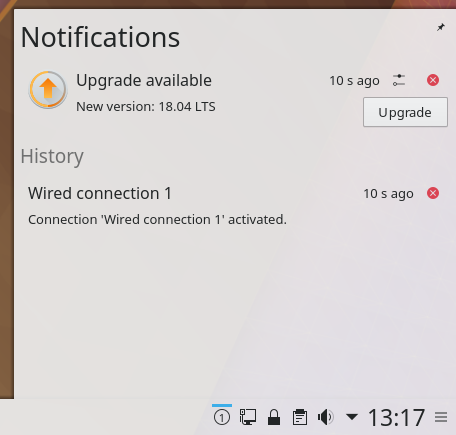
3) You will be notified of a new release
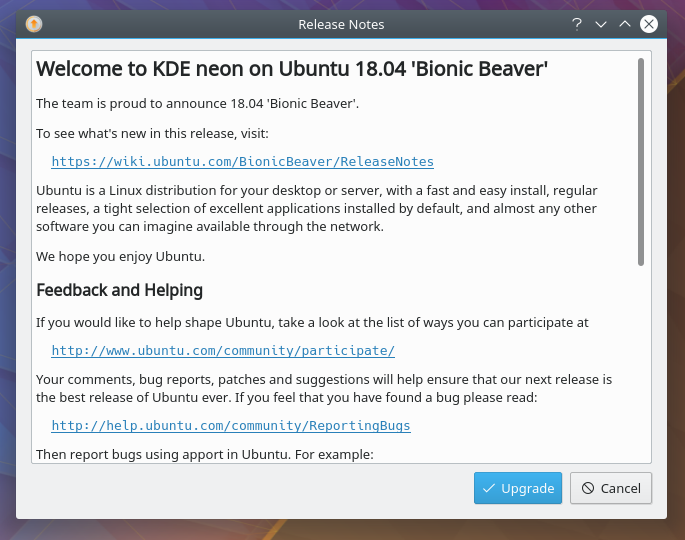
4) Review the release notes from Ubuntu
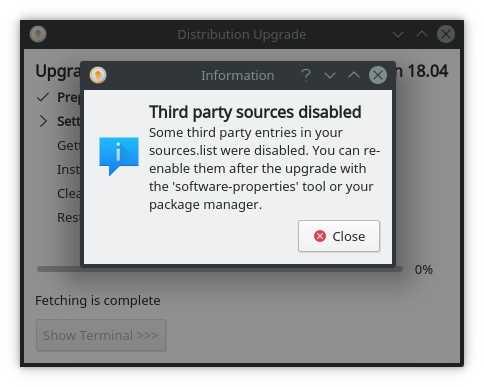
If you have any additional repositories enabled you will get a message similar to this. Click close and you can re-enable the repositories after the upgrade if needed
6) You now get to choose to start the upgrade
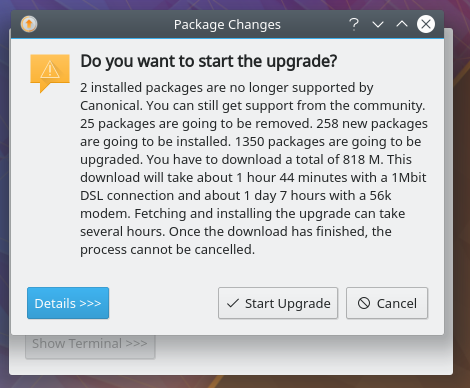
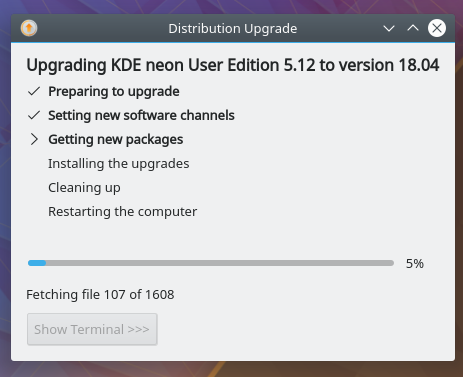
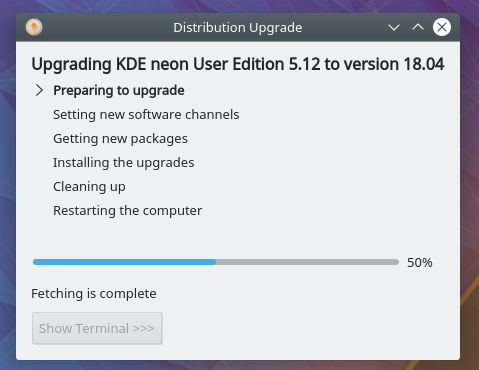
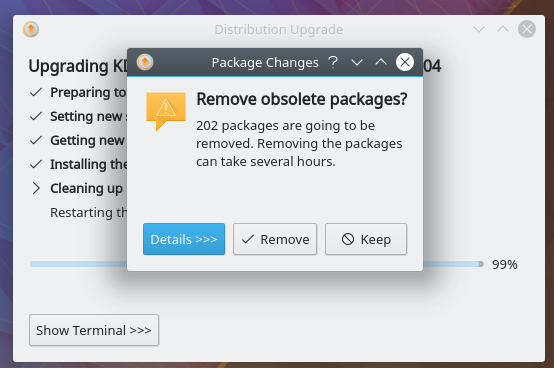
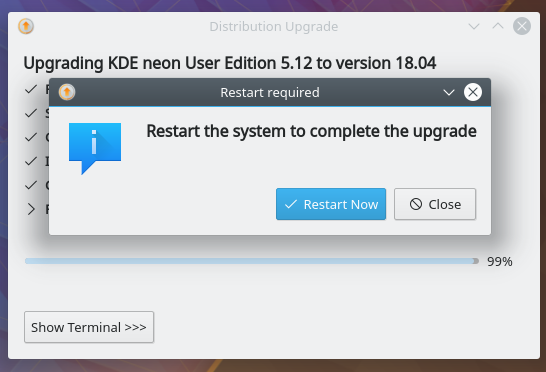
7) Have a cup of tea while it downloads and installs the upgrade
