Neon/BionicUpgrades: Difference between revisions
Appearance
< Neon
No edit summary |
No edit summary |
||
| Line 8: | Line 8: | ||
[[File:Bionic-1.png.png]] | [[File:Bionic-1.png.png]] | ||
2) | 2) Log out and log back in again<br> | ||
[[File:Bionic- | [[File:Bionic-4.png.png]] | ||
3) | 3) Open the application launcher and type the command <code>neon-preview-upgrade</code>. Run the command showing up as search result. | ||
[[File:Bionic- | [[File:Bionic-3.png]] | ||
4) You will be notified of a new release<br> | 4) You will be notified of a new release<br> | ||
Revision as of 10:39, 3 September 2018
This is for testing only, ***it could break your system***
Upgrade Your KDE neon install to Bionic, Testing now Open
- Please add results to Neon/BionicUpgrades/Testing results page
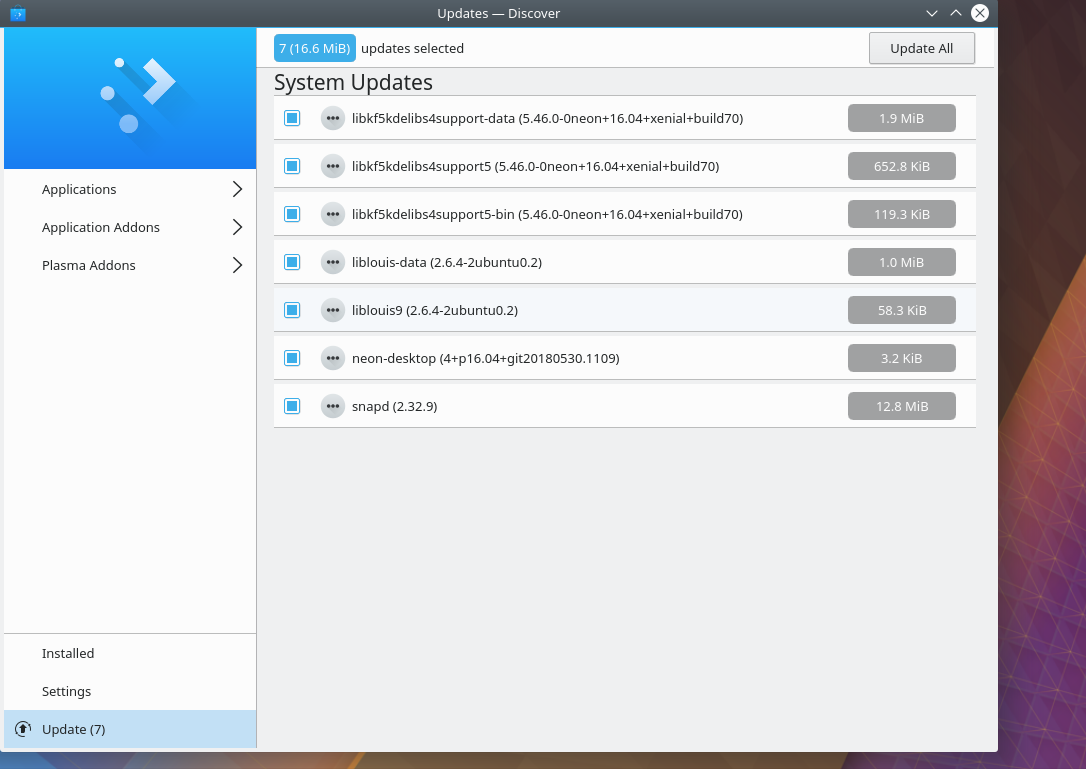
1) Update your system using Plasma Discover
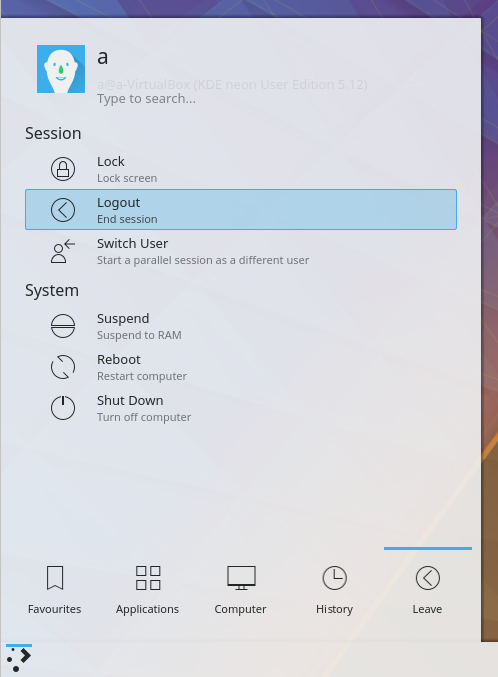
2) Log out and log back in again
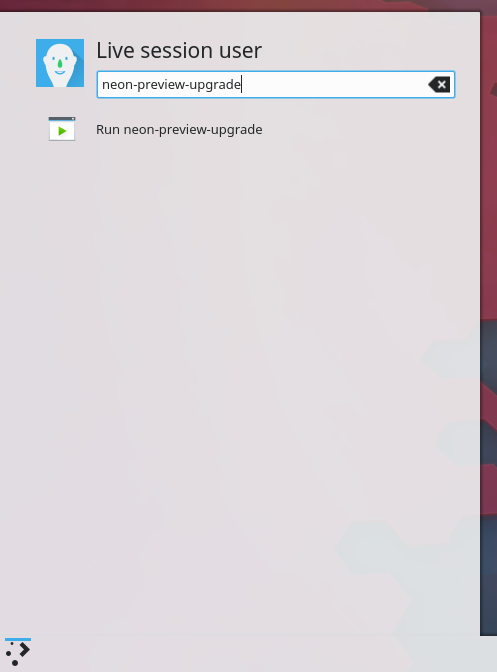
3) Open the application launcher and type the command neon-preview-upgrade. Run the command showing up as search result.
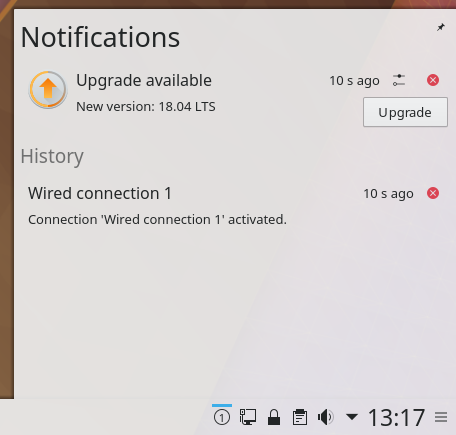
4) You will be notified of a new release
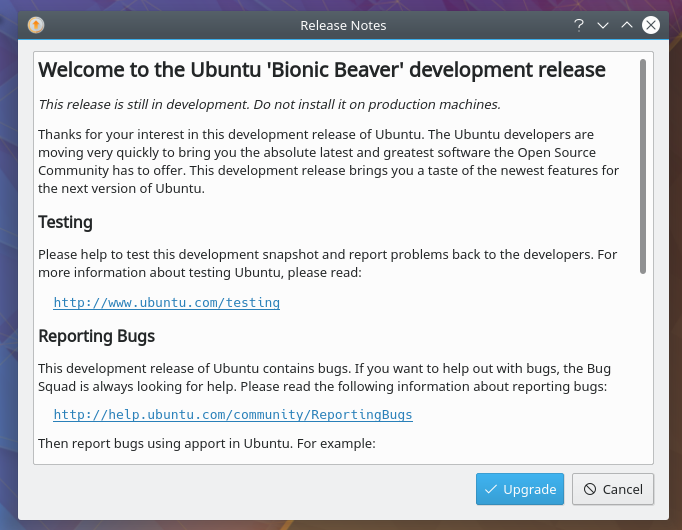
5) Review the release notes from Ubuntu
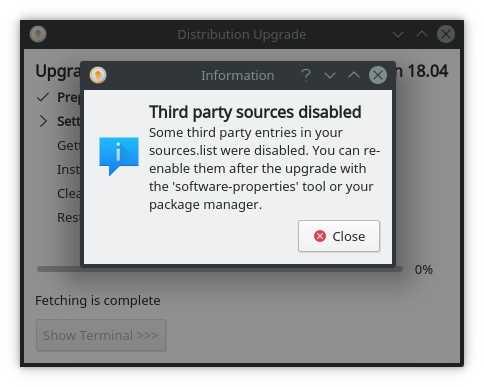
If you have any additional repositories enabled you will get a message similar to this. Click close and you can re-enable the repositories after the upgrade if needed
7) You now get to choose to start the upgrade
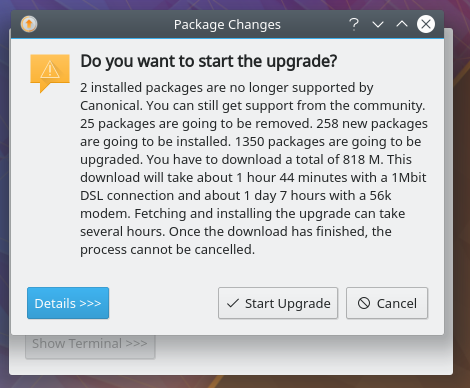
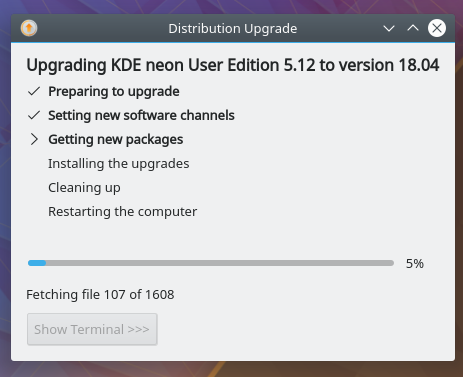
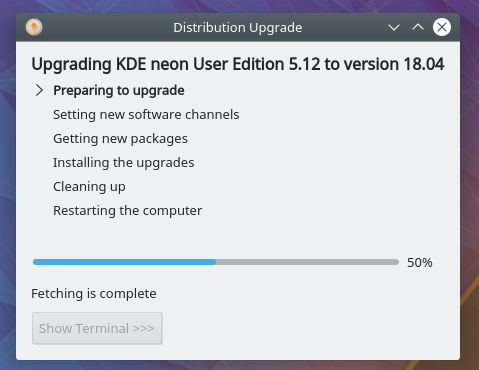
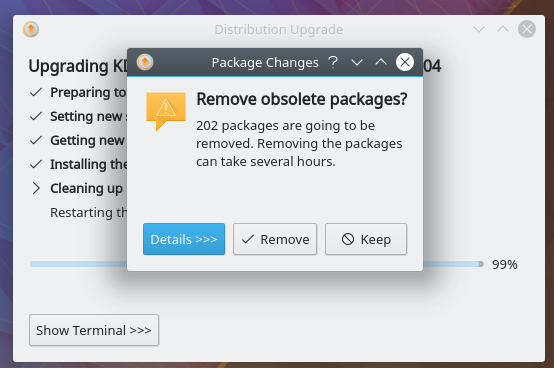
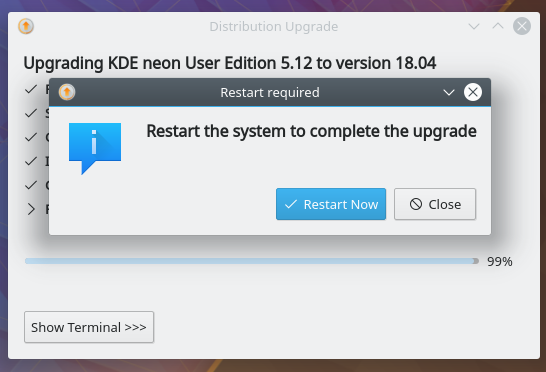
8) Have a cup of tea while it downloads and installs the upgrade
